|
|
|
Time to attach the the cells. We have to make sure we stick them on in the right direction, because once they go on they dont come off.Each row will switch which end of the cells are sticking up, looking like a snake pattern. On each section piece that you cut, put 3 strips of double sided tape for each cell, to hold it in place. Then, feed thewires for the first cell through the holes, and stick it on there. We have to be careful because the cells are very brittle and break very easily. I suggest using a dry rag to press lightly on each one, that way you avoid finger prints as well.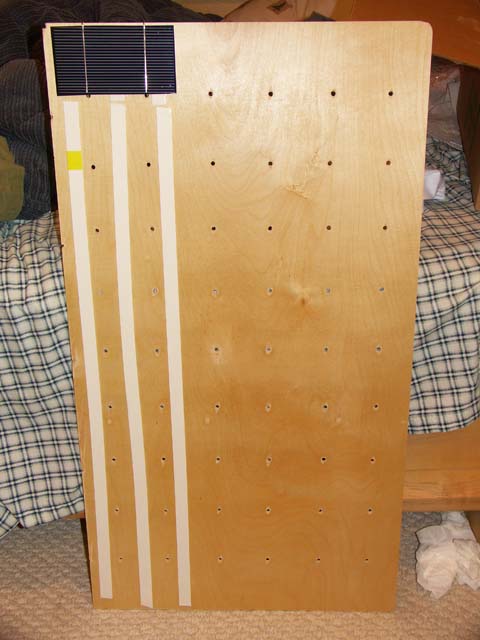
Continue to stick more cells on until it's complete.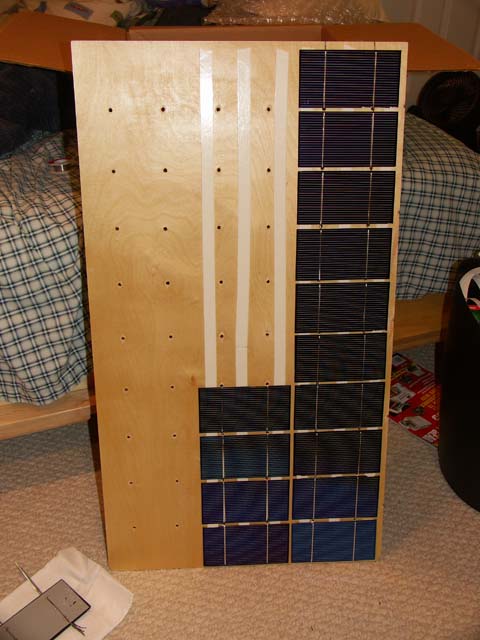
When we're done, lay it down on a flat suface(like a rug) upside down and carfully solder the wires which are coming out of the same holes, together. Notice the ends connected together.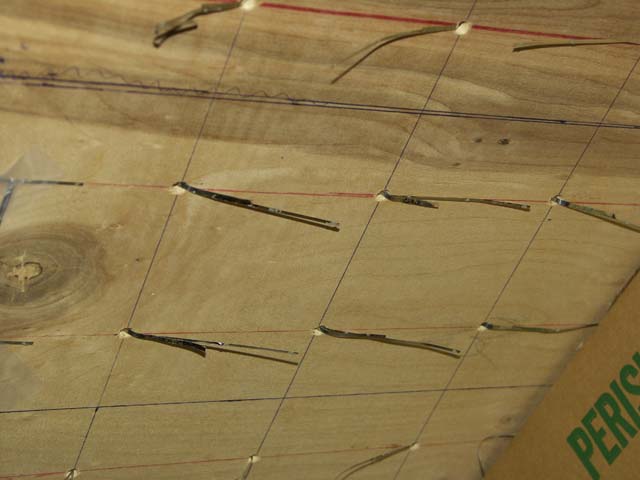
Now we have to do the final wiring. Connect the sections together by soldering wire or a metal strip between each one. Remeber, all the positives together and negatives together. If we dont wire this way(Parellel), then we will have 45 volts and 3 amps. We want 15volts and 9amps. Also have to have the power outside the panel, so I'm drilling 2 holes for a positive and negative bolt to go through. We cant forget that drilling into the wood will be the spot will moisture will try and get in, so we have to make sure it is good and sealed up with resin or epoxy.

And since we are putting this on a tracker with 3" steel square tubing, we attached four bolts sticking out the back, to bolt it to the tracker.

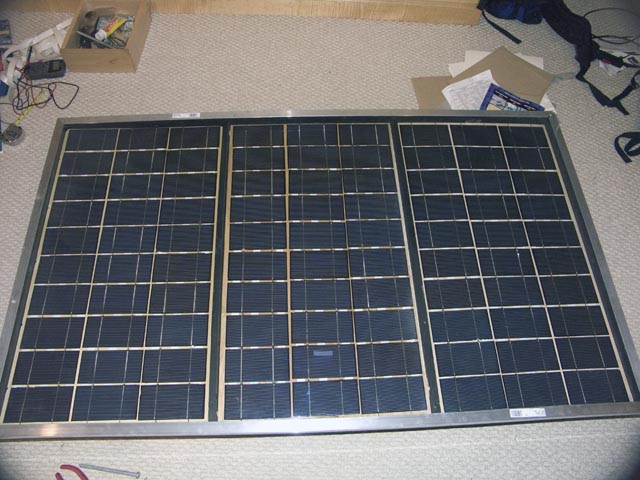
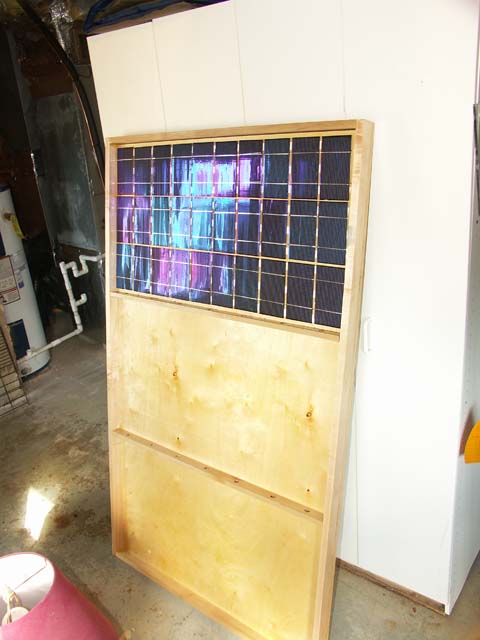
Since we're all done with the cells, we can place them in the panel. Now it's starting to come together.
Finishing it up: I'm using silicone around the edges to seal it up water tight and help hold it on. The silicone will stay forever flexable so I can remove the glass for any reason later on. After you lay the glass down, get some 3/4"-1" angle aluminum to put along the top edge to hold the glass on. Drill holes in the side to screw the aluminum on. This way, when you need to do maitinance, you just unscrew so you dont have use a stronger caulking and chance breaking the glass when you try and get it off. Now your panel is finished and ready to go up.
                                Free  Wood

                                Free  Glass

                                $28!  Aluminum

                                $80   Cells

                                $10   Double sided tape

                                $2    Extra Ribbon (1000ft for $50)

                                $3    Solder

                                $5    Silicone Caulking

                                $5    Junction Box

                                $4    Bolts, nuts, ect...

                                $13   Resin


                                   Total =  $150